
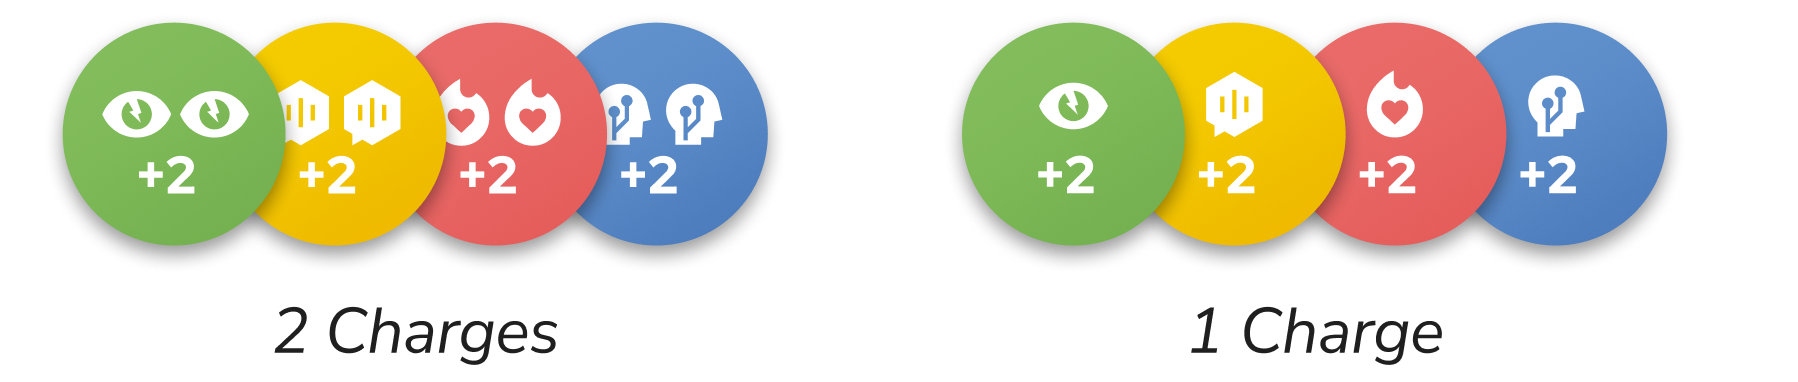
There are Attribute Markers for each of the four Attributes. They are called Perception (green), Charisma (yellow), Courage (red), and Technology Marker (blue) respectively.
An Attribute Marker can have 1 or 2 charges. They come into play with 2 charges when placed on a Lead.
Using an Attribute Marker means spending 1 charge from it: a marker with 2 charges is flipped over, a marker with 1 charge left is returned to the supply.
You can use a matching Attribute Marker for a character at your setting. This adds +2 to their attribute for this task. This is done in step 3 of performing a task. The characters may spend charges from any number of Attribute Markers, but only 1 charge from each individual marker in this step. (This also applies when spending them for effects like Teamwork.)
If you need to gain or place Attribute Markers from the supply but there are not enough left, proceed as follows:
- If you need to gain Attribute Markers, gain as many as are still available, and ignore the rest of the effect.
- If you need to place Attribute Markers on a card, place as many as are still available from the supply, and take the rest from any character’s play zones. In the rare case that there are not enough Attribute Markers in the play zones, ignore the rest of the effect.
Clarifications:
- Matching describes that the attribute of the Attribute Marker must be the same as the attribute of the task currently being performed.
- You can use multiple Attribute Markers of the same attribute at once in step 3, but not both charges of a single marker. However, if an effect is resolved during a task but after step 3 (e.g. when you succeed), you can use the same markers that you have used in step 3.